Rust Pumpkin Using Rust Effect Paint
Today I want to share this rust pumpkin I made using rust effect paint.
I love creating repurposing thrift store items, so when I came across this old dessert pan at the thrift store, I immediately envisioned it as a cool rust pumpkin.
I recently saw this Modern Masters metal effects iron paint and rust activator kit online when I was looking for faux rust paint and knew it would be perfect for this project.
Here I will show you how I easily transformed this old pan into this rusty pumpkin decor.

This post may contain affiliate links, which means I’ll receive a commission if you purchase through my links, at no extra cost to you. Please read full disclosure for more information.
Supplies
Dessert Pan / Pie Pan
Find pan to use as base
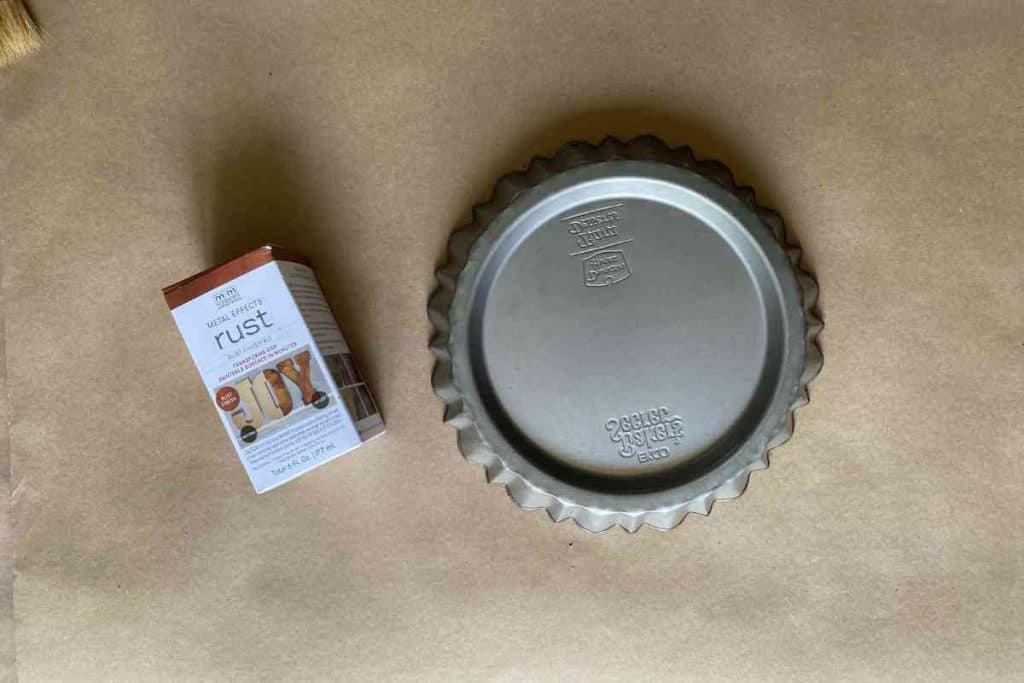
This is the dessert tray that started this whole project in motion. When I found it at the thrift store, I just knew I was going to turn it into a rustic pumpkin for my fall decor.

rust effect paint
There are a few different ways on how to make metal look rusty.
I was searching for paint that looks like rust when I came across this rust effect paint kit by Modern Masters.
I was so excited to try this kit out. In just three steps you can transform a paintable surface into a rusty one.
modern masters rust paint
This kit comes with three things to create your rust paint; the primer, the iron paint, and the rust activator.

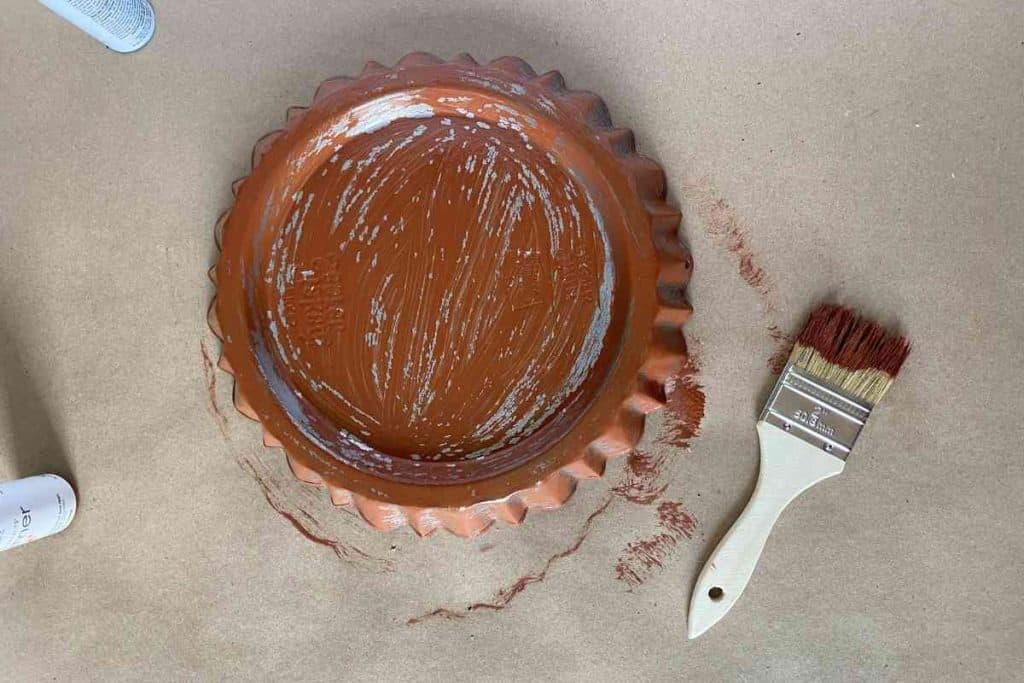
Step 1: use rust paint effects Primer
The first thing you want to do is prime the surface with two coats of rust effect paint primer.
The first coat didn’t cover too well, but once the second coat was put on it had great coverage.
You want to make sure to wait about 30 minutes in between coats. It’s pretty easy to see if it is dry or not so double check before you add another coat.

Step 2: oxidizing iron paint
Once the primer has dried, it’s time to use the rust effect paint oxidizing iron. I used a cheap chip paint brush for this project and it worked perfectly.
Again, wait 30 minutes in between the coats of rust effect paint.


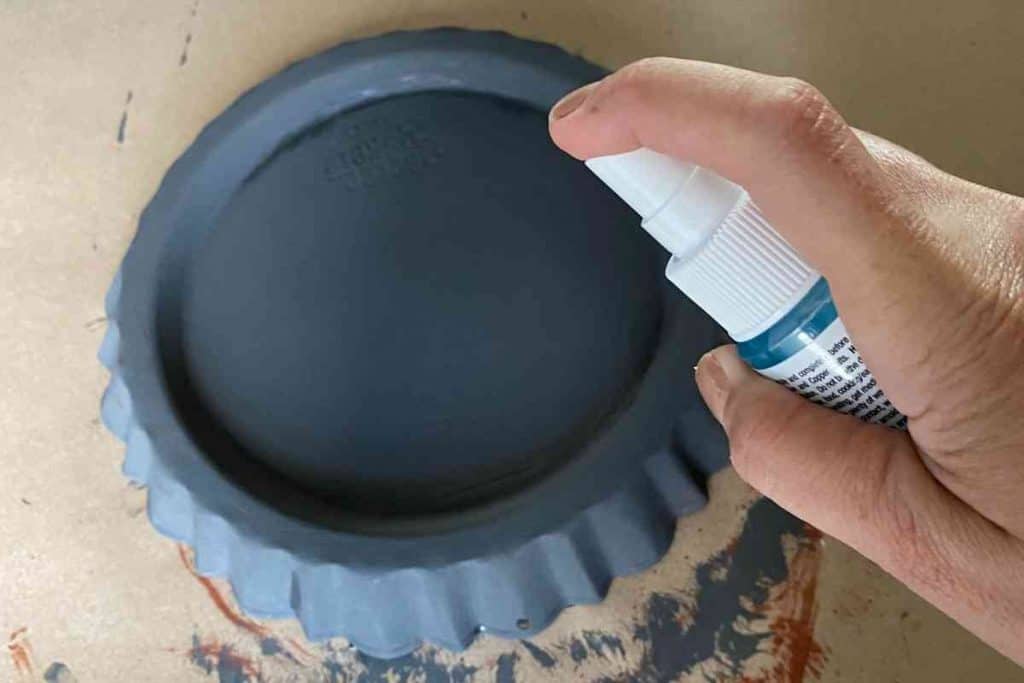
Step 3: rust activator
Once the iron paint is dry, you want to spray the surface with the rust activator.
I sprayed a light surface, waited 5 minutes, and then gave it another coat.
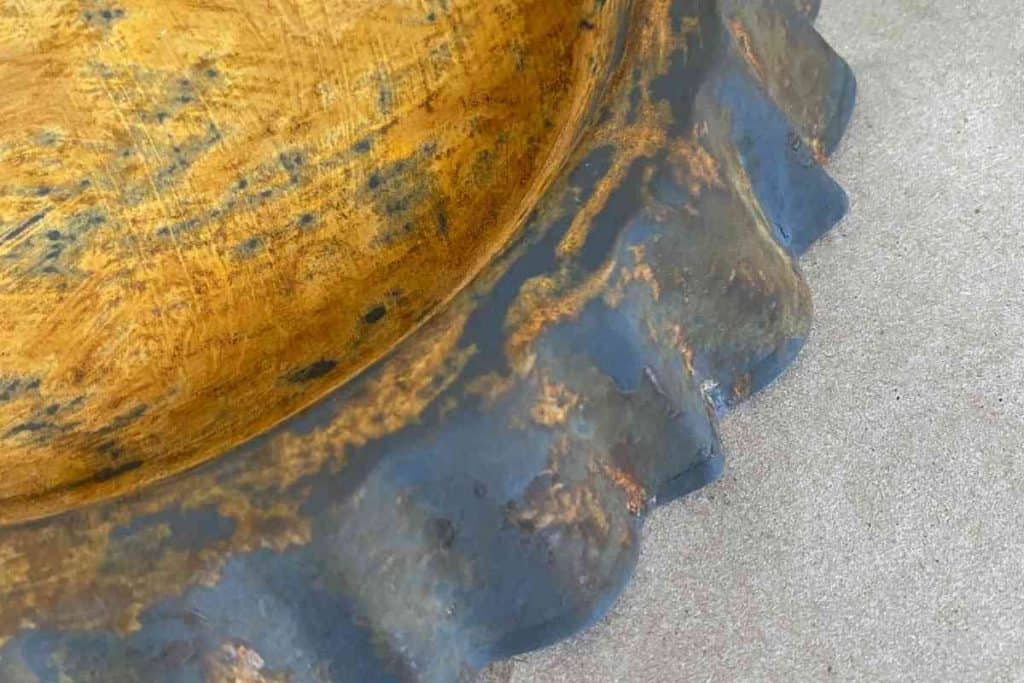
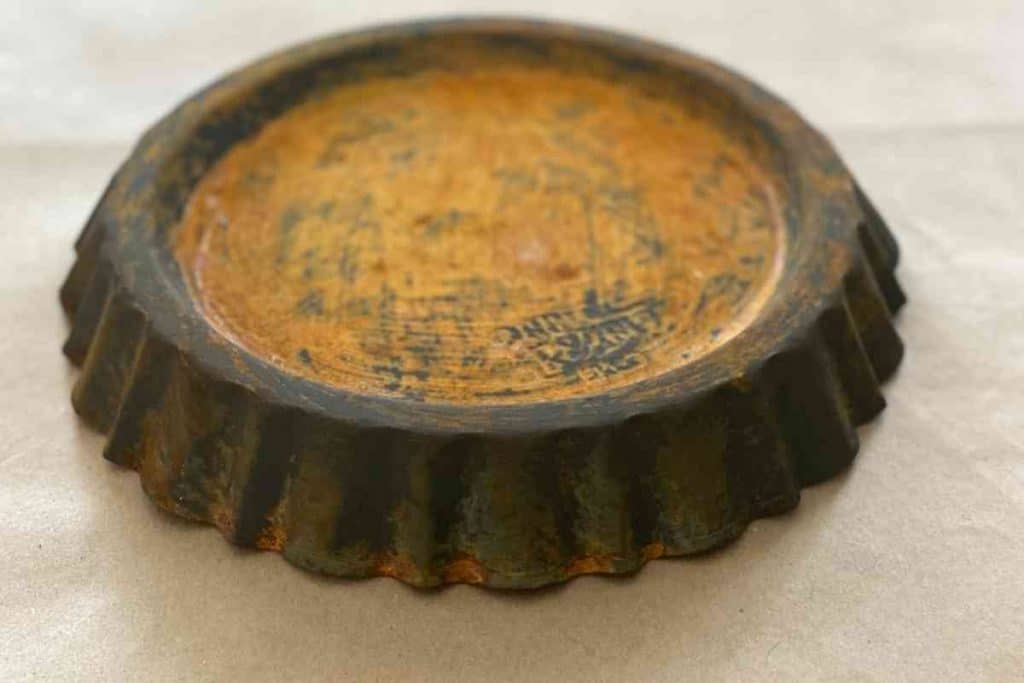
When it started to work its magic, I noticed it was more yellow than orange.

As time went on, however, it looked more and more rusty orange. This was exactly the rust finish I was hoping for!
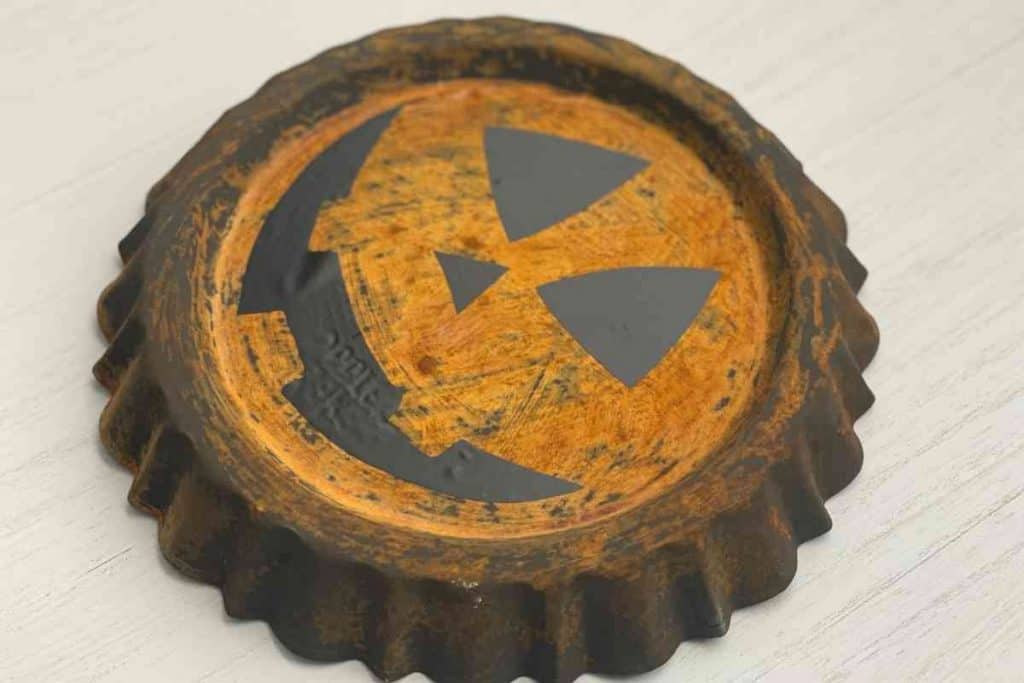
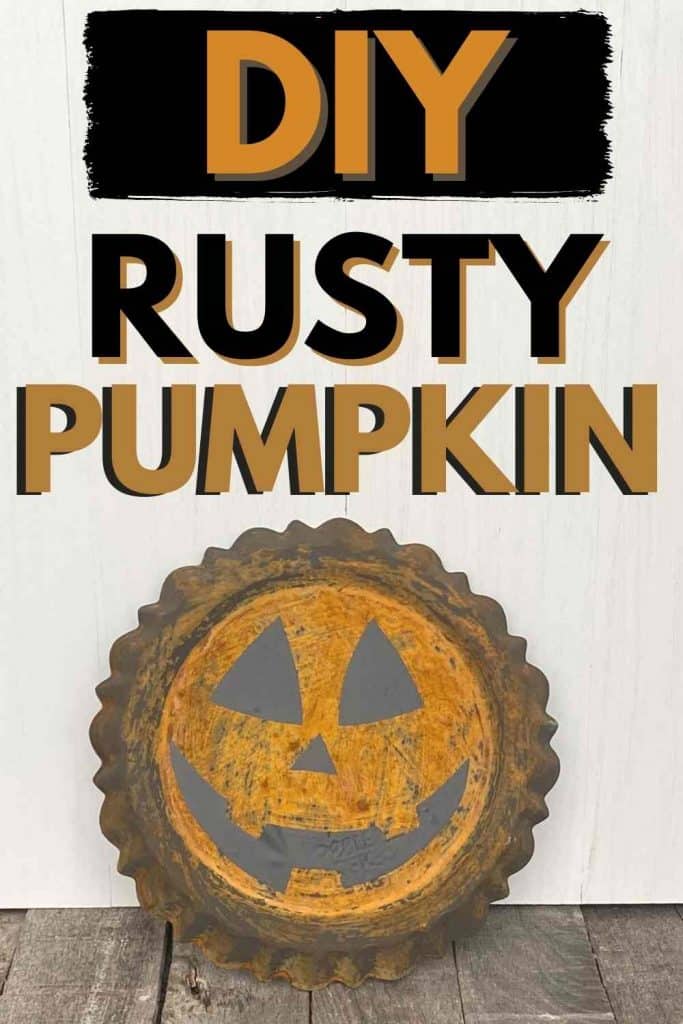
I let it sit out overnight and decided to dress it up a bit with a jack-o-lantern face.
I simply cut out some vinyl into the shape I wanted for the face. Then I attached the vinyl by hand onto the pan.

This was such a simple project but I love how this rust pumpkin turned out!
Now that I know how to make metal look rusty with paint, I’m hooked 🙂
I have plenty of the rust effect paint leftover so I am excited to see what else I can make with it!
Update: Check out the Easter rust carrot project!

Thanks for checking out this rust pumpkin project! It has made a great addition to our fall fireplace decor. If you liked this one you might like this wood veneer pumpkin I just finished or this super easy black pumpkin.
Or Check Out Some More Upcycled Home Decor Projects Like These:
Thrift Store Round Tray Makeover
Garage Sale Wine Rack Makeover
Make sure to check out some of the other cool products from Modern Masters!