DIY Plaster Lamp Makeover – 7 Easy Steps
A DIY plaster lamp makeover is a great way to save money and add to your home decorating in one quick and easy project.
Lamps provide much more than simple lighting in any room; they also add personality and style. The right lamp can really bring a room together or take it up several notches in terms of sophistication and interest level.
However, lamps can be quite expensive, especially if you’re looking for an item that is unique and eclectic. This is why DIY plaster lamp makeovers are a great way to add flair to your home decorating while decorating on a budget at the same time.
Not only can you save money with a lamp makeover, but you can also add a vintage touch to your home decorating.
In fact, you can even give a room a whole new look by using different colors of paint on the base. You can also easily change up lamp shades to match your decorating scheme.
Here is a step-by-step guide with full details on exactly how to turn a plain and boring lamp into an attention-grabbing statement piece that is out of this world.

This post may contain affiliate links, which means I’ll receive a commission if you purchase through my links, at no extra cost to you. Please read full disclosure for more information.
Step 1 – Find An Ugly Lamp That Has A Nice Shape To It
For this DIY Plaster lamp makeover, you want to start with an ugly lamp that has a nice shape to it. This will be the base of your lamp.
I found mine at the local Goodwill store. You can also check local garage sales, Facebook Marketplace, or Freecycle to find a lamp base. I love the shape of these lamps and think they have great potential.

Step 2 – Prepare Lamp For Primer
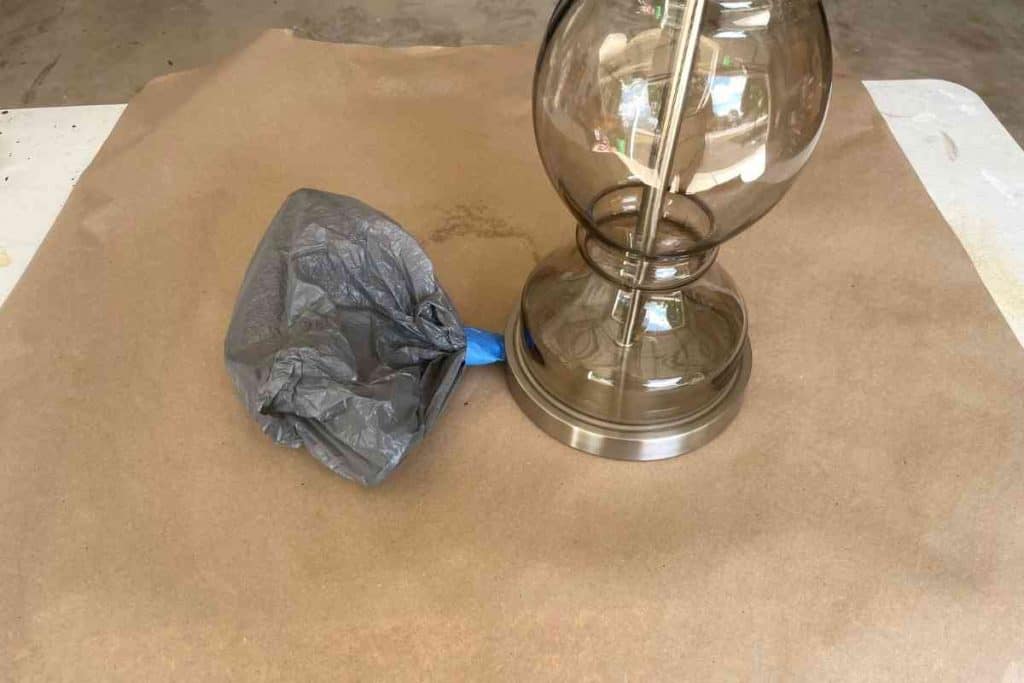
The first thing you want to do is remove the lampshade. Next, cover the top of the lamp with a plastic bag and painter’s tape to prevent it from getting paint on it.
Repeat the same process for the cord. Now that everything is protected, take a few minutes to clean the lamp base.
Since this one was glass, I used sandpaper to rough up the surface which will allow the spray paint to stick better.

Step 3 – Give Lamp A New Coat Of Primer
Once everything is prepped, it’s time to give it a nice base coat for everything to stick to. The easiest way to do this is to spray paint it with a good primer.
I used Rustoleum Primer which works great. This will ensure everything sticks and that the lamp is durable enough to handle a few coats of plaster and paint.

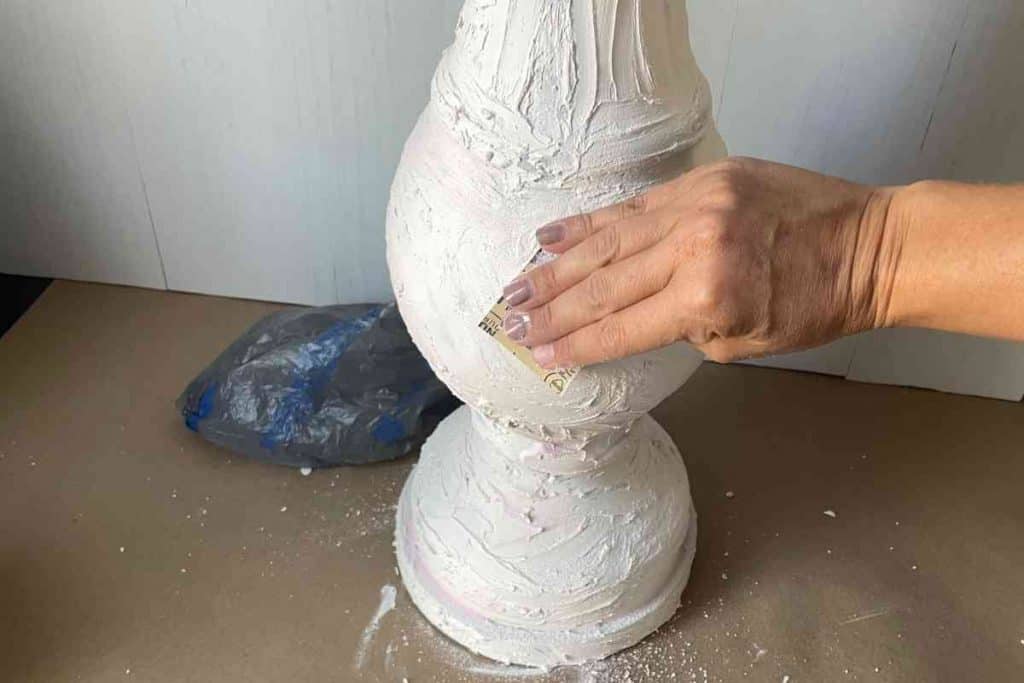
Step 4 – Add The Plaster
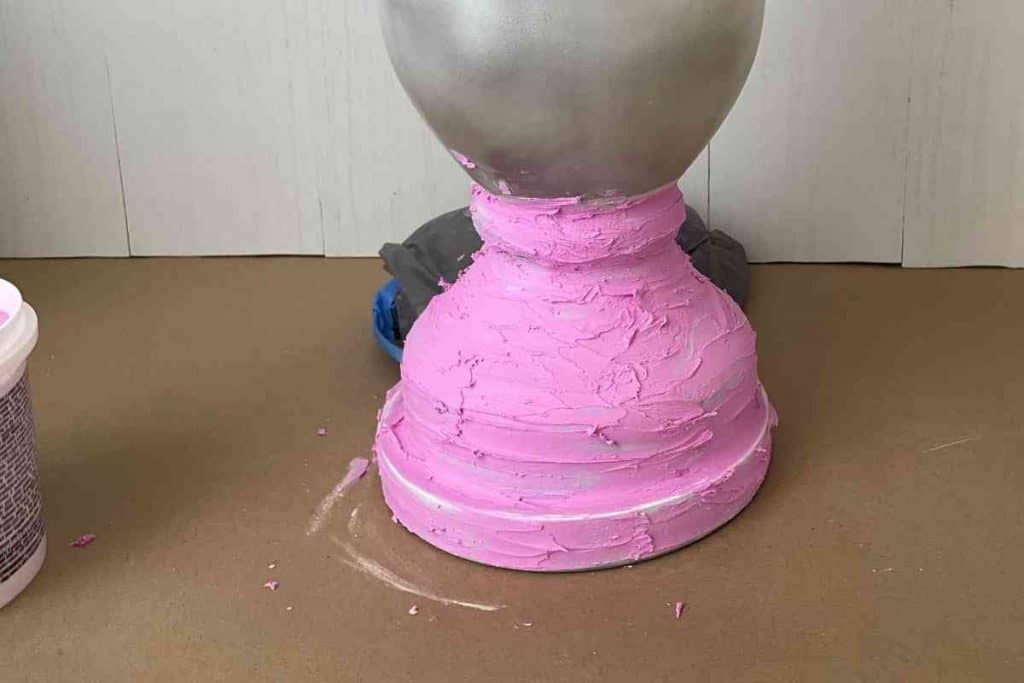
Now it’s time for the fun part! Once the primer has dried, apply your first coat of plaster to the lamp base spreading it out as you go.
There’s no right or wrong way to do this, just make sure you have a nice thick layer.
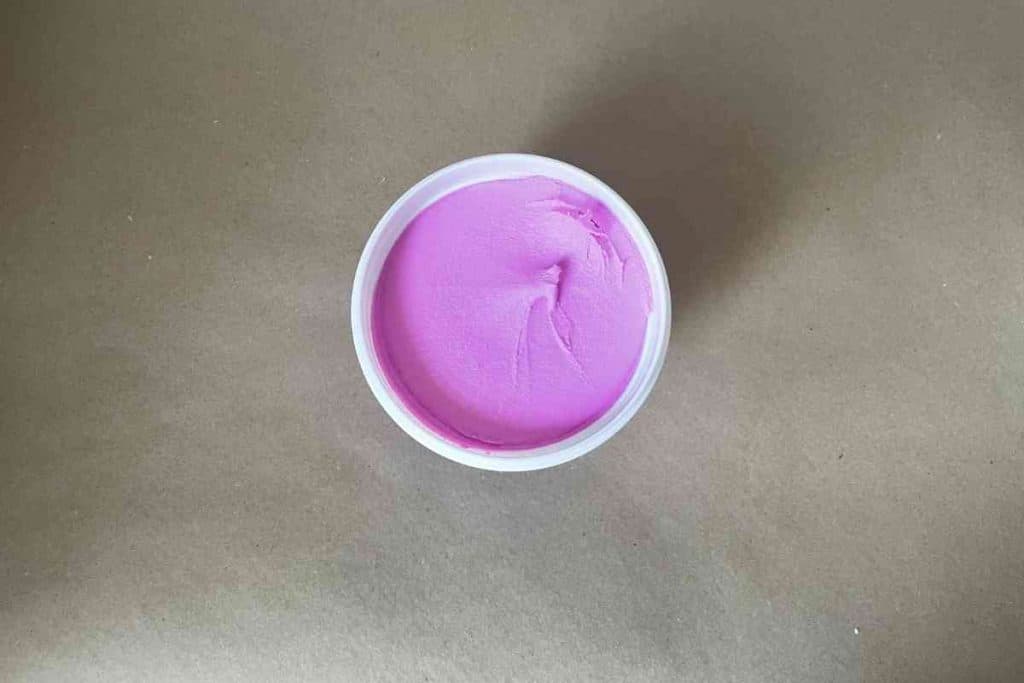
I used this plaster for the lamp. I love that it starts out pink and turns white as it dries. This was super helpful for this project – I knew exactly when it had dried.


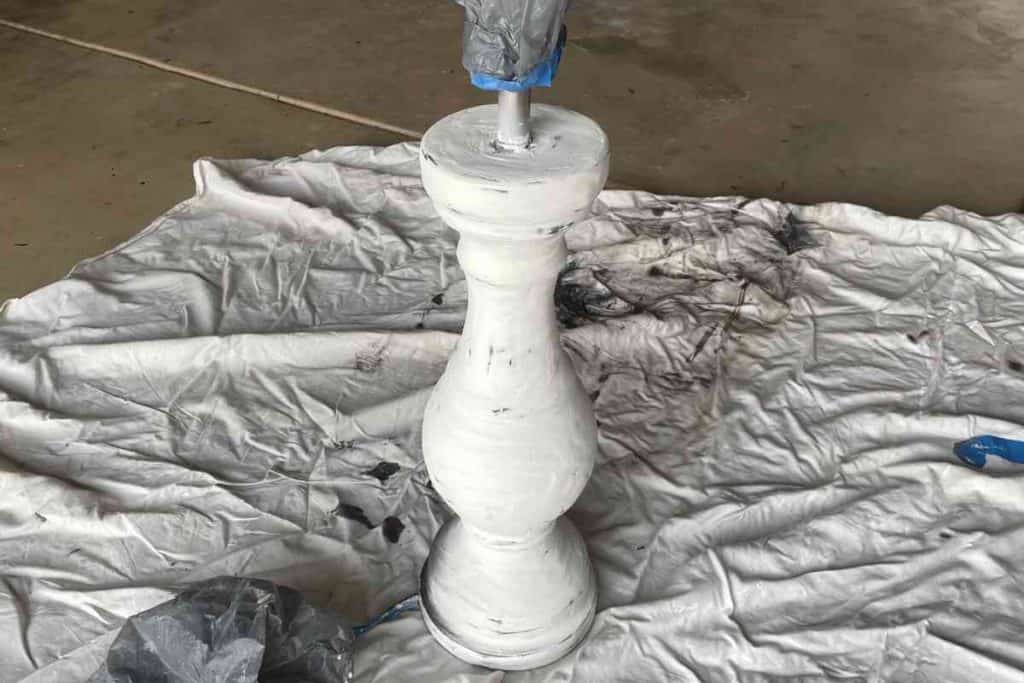
Step 5 – Sand It Down
Once the plaster has dried, take a sanding block with medium-grit sandpaper and smooth it out. This is really the only step that takes any sort of labor involved.
Be careful not to sand too much off or it will be too thin and will crack. You can always add more if need be.
I used a dry chip brush to get rid of most of the dust and then gave it a once over with the vacuum before painting it.

Step 6 – Paint Your DIY Plaster Lamp (Optional)
At this point, you can leave the lamp white or paint it any color you choose. Another option would be to age it with coffee grounds. The options are endless, just go with what makes sense for your home.
For this lamp makeover, I wanted to go with a matte black to complement the farmhouse-style room these were going in. I used black chalkboard spray paint because I have found that charcoal chalk paint is more on the dark grey side and I wanted pure black.
It took two coats of spray paint to completely cover it. Once the spray paint dries, use a matte sealer to seal everything into place.


Step 7 – Put Shade Back On
Now that your DIY plaster lamp makeover is dry, it’s time to put the lampshade back on, add a lightbulb, and enjoy!

Conclusion
This article has offered a step-by-step guide on how to turn an ugly lamp into a statement piece that is out of this world.
From removing the shade and cord, priming the base coat before painting it with plaster or any color you choose, sanding down the surface, and sealing it in place when done; this DIY project is fairly easy and makes a huge impact.
You can also add your own personal touch by using different colors for each part of the process like I did here with white at first then black chalkboard paint spray paint which gave my room a whole new look! The possibilities are endless when making over lamps because they’re such versatile pieces that fit well in most rooms. This makes them perfect for adding character to any space.
I hope you enjoyed this lamp makeover thrift store project as much as I did! It just goes to show that you don’t have to spend a fortune to have a beautiful home you love. Make sure to check out the textured canvas art I made with the leftover spackle!