10 Smart Tips for Hanging Curtains Like a Pro (Even If You’re a Beginner)
Thinking about hanging curtains? Whether you’re upgrading your space or starting fresh, curtain placement can totally transform a room. But here’s the thing — there’s a right way and a wrong way to do it. Done right, curtains can make your windows look bigger, your ceilings look taller, and your space feel cozier.
This guide breaks it down into 10 easy, practical steps so you can skip the frustration and get straight to the good part: loving how your room looks.
1. Measure Your Windows the Right Way

Before you even think about buying curtains, grab a tape measure. Knowing your window’s exact dimensions will save you time, money, and headaches.
- Measure width AND height: Don’t guess — measure the full width and height of your window frame.
- Add extra for fullness: Curtain panels should be 1.5 to 3 times the width of your window for that full, luxe look.
- Don’t forget rod placement: Decide how high and wide you want the rod before finalizing your curtain length.
2. Choose the Right Curtain Length

The right curtain length makes a big difference in how formal or casual your room feels. Too short and it looks awkward; too long and it can drag (unless you’re going for drama!).
- Decide the look you want: Curtains can kiss the floor, puddle slightly, or float just above it.
- Standard sizes aren’t always perfect: You might need to hem or buy custom for a just-right fit.
- Use painter’s tape: Mark the length on the wall with tape to visualize before drilling.
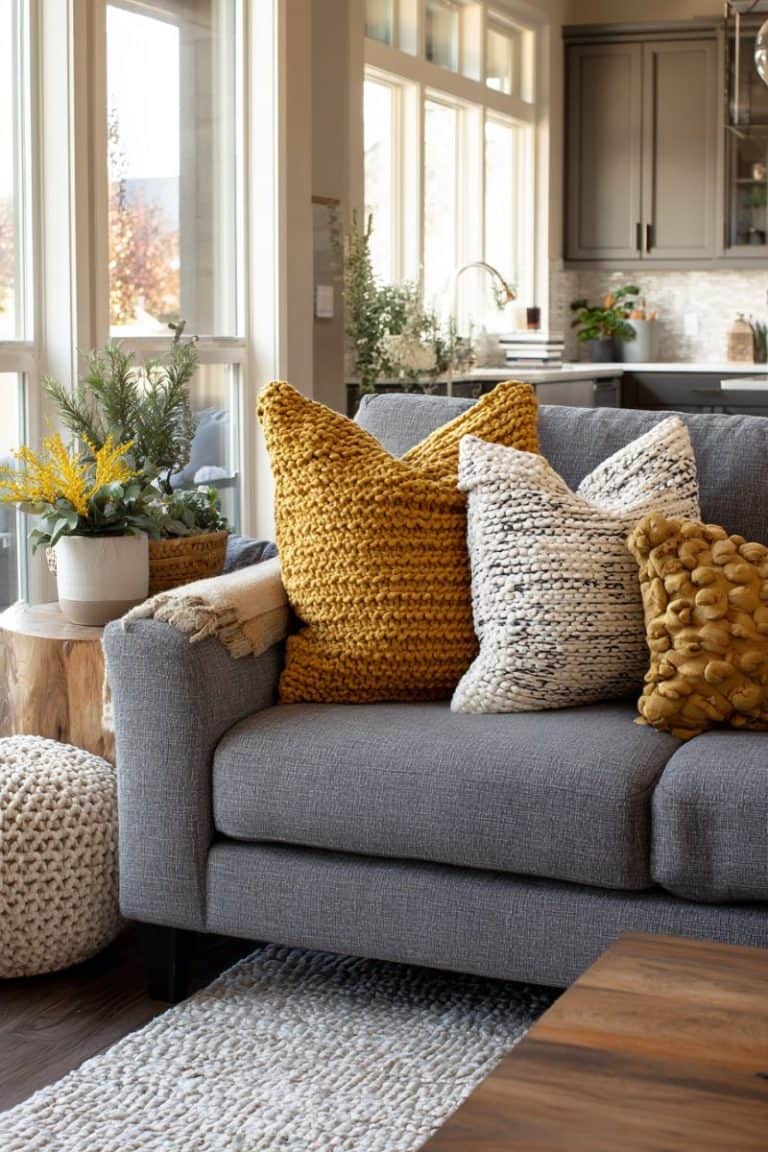
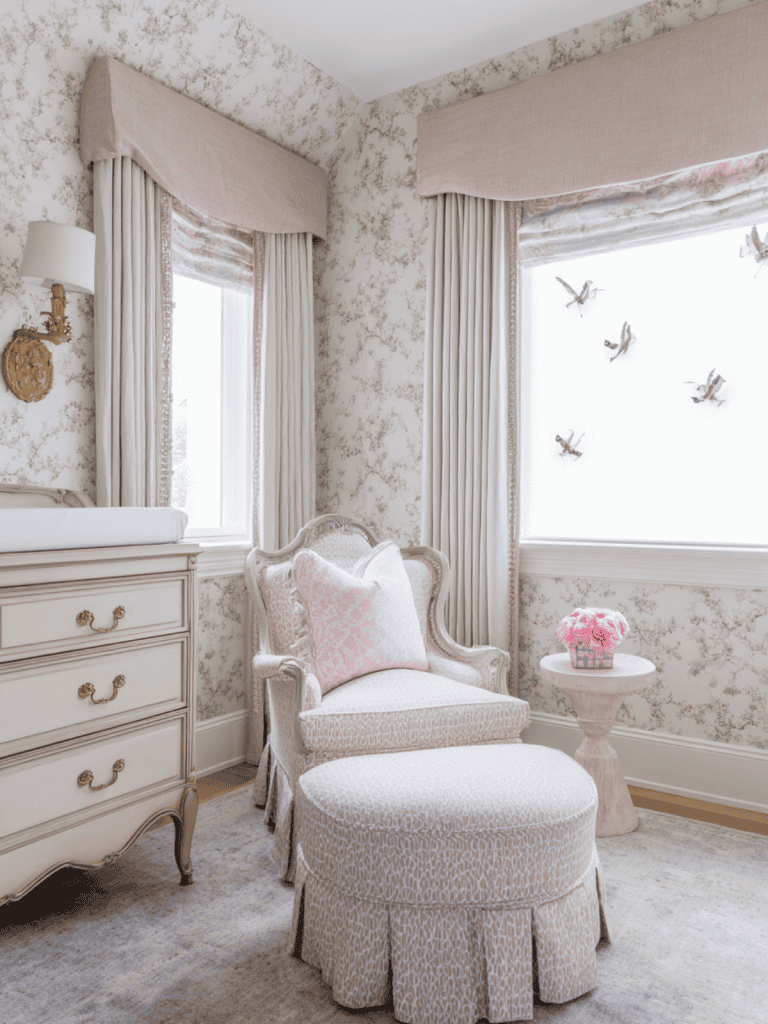
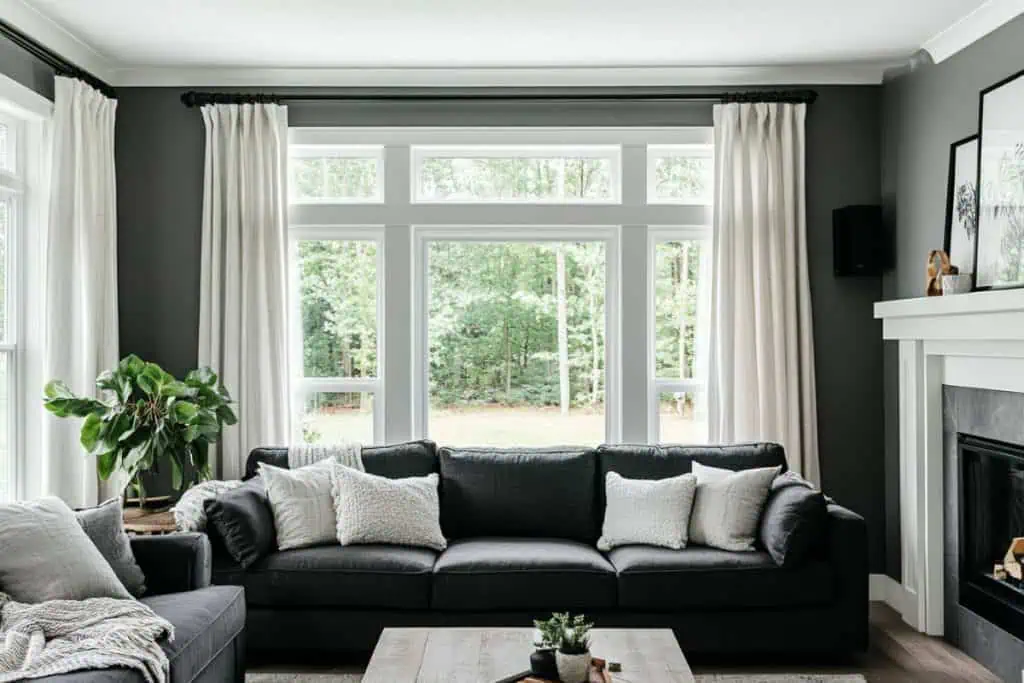
3. Go High and Wide

This is the #1 designer trick to make windows look larger and ceilings look taller.
- Mount rods above the frame: Aim for 4-6 inches above the window (or closer to the ceiling for more drama).
- Extend rods past the window: About 6-12 inches on each side helps your window look wider.
- Let the window shine: This setup also lets more light in when curtains are open.
4. Pick the Right Curtain Rod

Don’t overlook the rod — it’s the foundation of the whole look. Flimsy rods or clashing styles can throw off your vibe.
- Match your room’s style: Choose materials and finishes that complement your decor (brass, matte black, wood, etc.).
- Choose the right thickness: Thin rods work for lightweight curtains; thick rods are better for heavier drapes.
- Go for sturdy hardware: Especially if you’re hanging blackout or lined curtains.
5. Don’t Skip the Hardware

Good brackets and wall anchors make sure your curtains don’t come crashing down. Always secure things properly — especially in drywall.
- Use wall anchors: If there’s no stud behind your bracket, anchors are a must.
- Level everything: A crooked rod will make even the fanciest curtains look sloppy.
- Test before hanging: Gently tug to make sure the rod is stable.
6. Use the Right Curtain Style

From grommets to pinch pleats, the way your curtains hang affects the whole room’s feel. Choose function and fashion.
- Know your options: Rod pocket, back tab, ring clips, pleated — each has a different vibe.
- Match function to style: Need blackout for a bedroom? Go with thick panels and a snug header.
- Try ring clips: They’re super easy to use and make adjusting curtains a breeze.
7. Iron or Steam Before Hanging
Wrinkled curtains? Total buzzkill. Fresh out of the package, they’ll need some TLC.
- Use a steamer: Easiest way to remove wrinkles once they’re hanging.
- Iron before hanging: Especially for heavier materials or formal styles.
- Let them hang out: Some wrinkles naturally fall out after a few days.
8. Layer for a Designer Look

Want that high-end, magazine-worthy finish? Layer your curtains with sheers or shades.
- Try sheers + drapes: Sheers add softness and privacy, while heavier curtains bring in style.
- Mix textures: Combine velvet with linen or cotton with bamboo shades.
- Use double rods: These make layering easy and keep everything looking polished.
9. Mind the Floor Clearance
You don’t want your curtains floating awkwardly or dragging like a wedding dress (unless that’s intentional!).
- Aim for just above the floor: Usually ½ inch off the floor looks clean and tailored.
- Go for a puddled look: Add 2–4 inches of extra length for a romantic, cozy vibe.
- Avoid “highwaters”: Curtains that stop too short can make the room look off.
10. Use Curtain Tiebacks or Holdbacks
Tiebacks are a simple way to elevate your curtain game. They add shape, structure, and style.
- Choose your style: Rope, metal, fabric, or even magnetic — there’s a look for everyone.
- Mount holdbacks properly: About two-thirds down from the top of the curtain for best results.
- Play with symmetry: Make sure both sides are even to keep things balanced.
Ready to Hang Like a Pro?
Now that you’ve got the tips, you’re totally ready to hang those curtains with confidence. No more guessing, no more droopy rods or awkward lengths. Just a beautiful, pulled-together space that feels just right.
If you found this helpful, share it with a friend who’s decorating too — or better yet, tag someone who needs a curtain makeover ASAP! 🪄🖼️✨